Help - Inventory: add existing stock
Stock that is already in the laboratory can be added to the system without having to go through the normal delivery process to simplify the process of getting existing stocks into the system. For speed of data entry, it is recommended that a PC with hand scanner is used for this process, although a mobile device (tablet) with a camera can also be used.
Video guide
Step by step instructions
Click on the add button in the Setup panel:
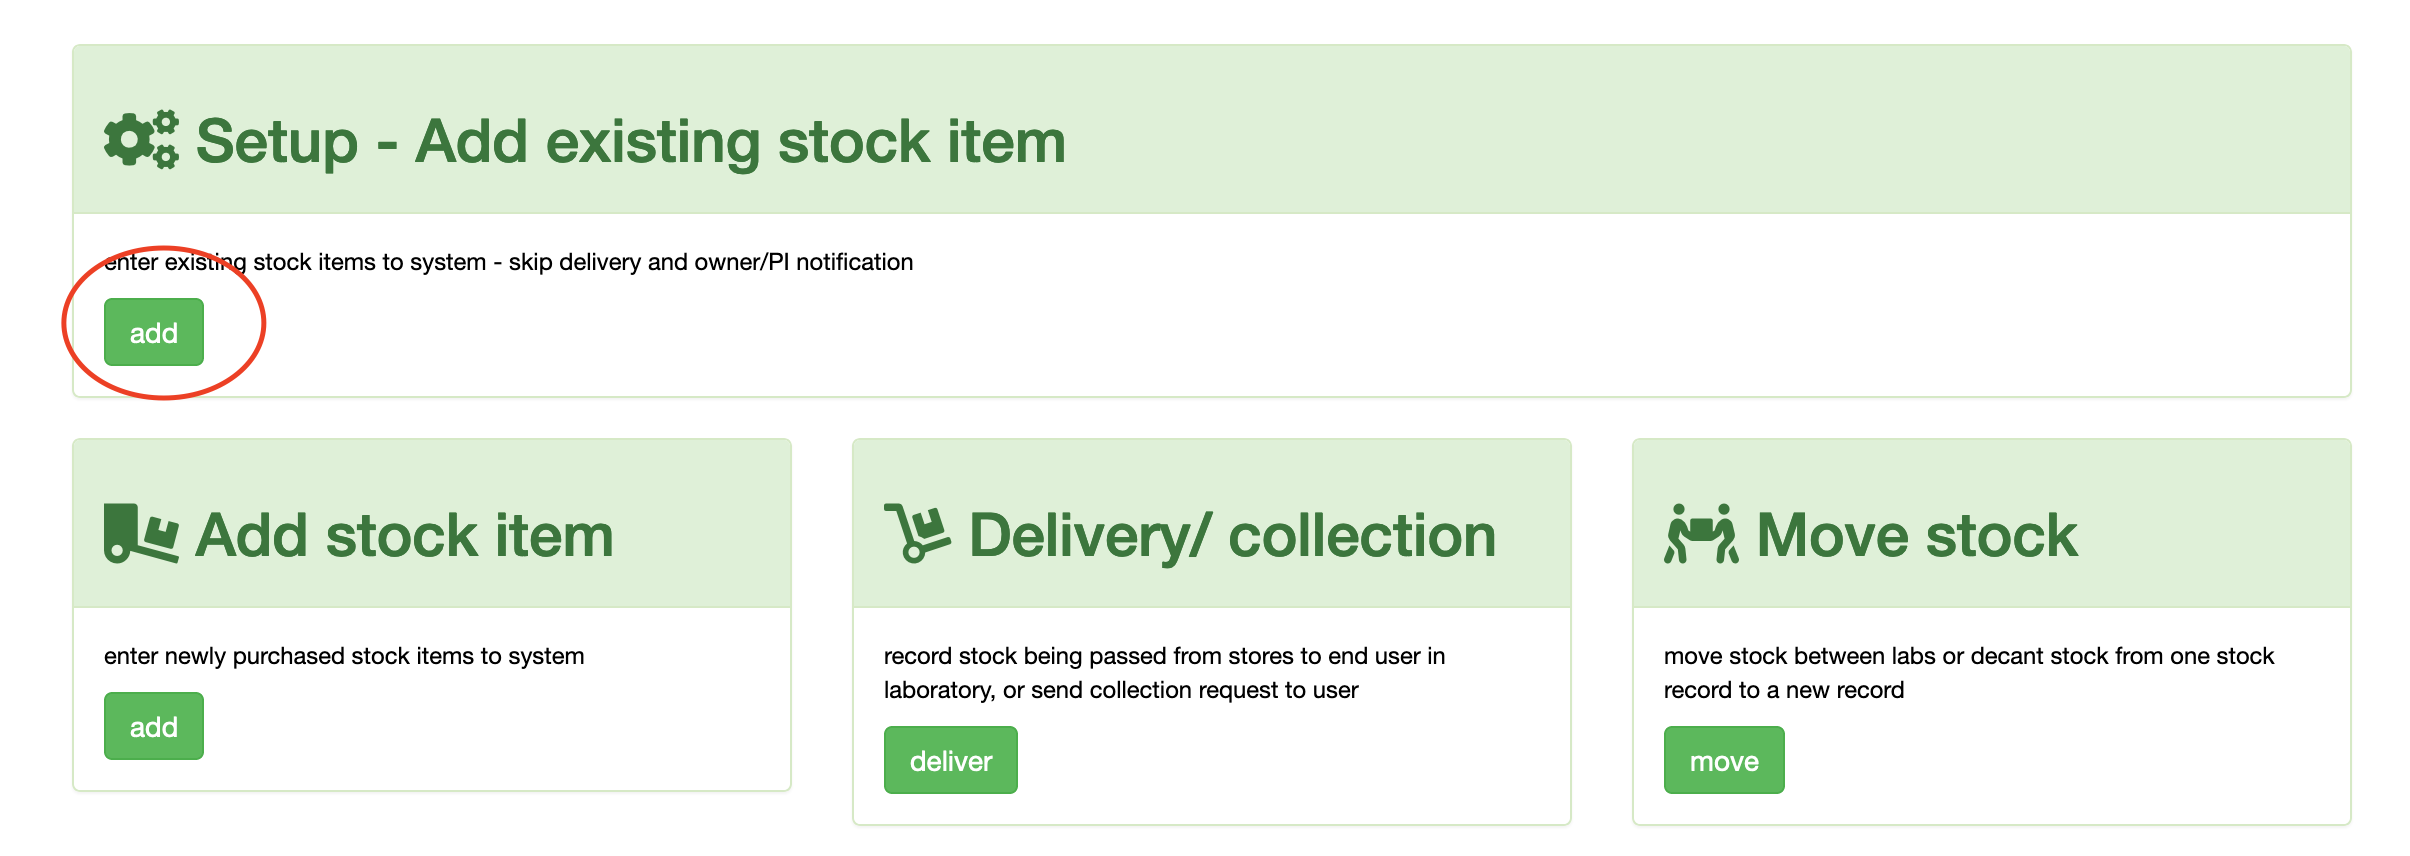
the screen will update and request you scan the QR code. Take a new label, and scan it.
A) on a PC with hand scanner the screen will look similar to this:
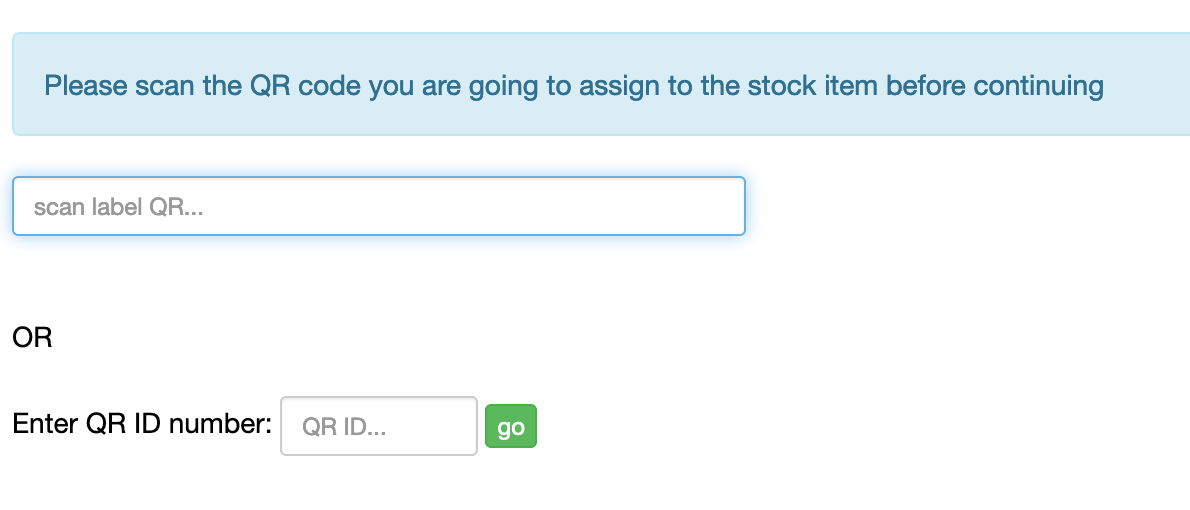
B) on a mobile device (tablet) the screen will look similar to this:
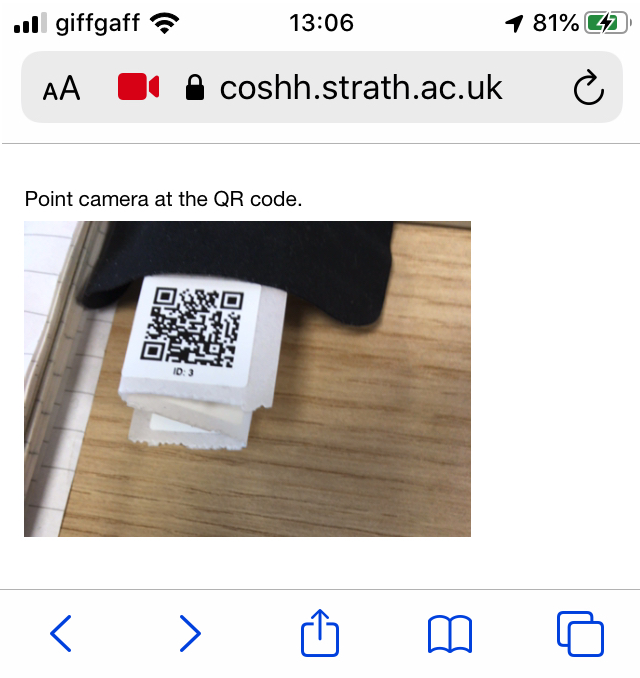
If using a scanner or tablet, the page should update on reading the QR code ID.
On either device type, you are able to enter the QR ID number manually if either the scanner/ camera won't operate or isn't available - you should then click the go button to enter the ID on the system.
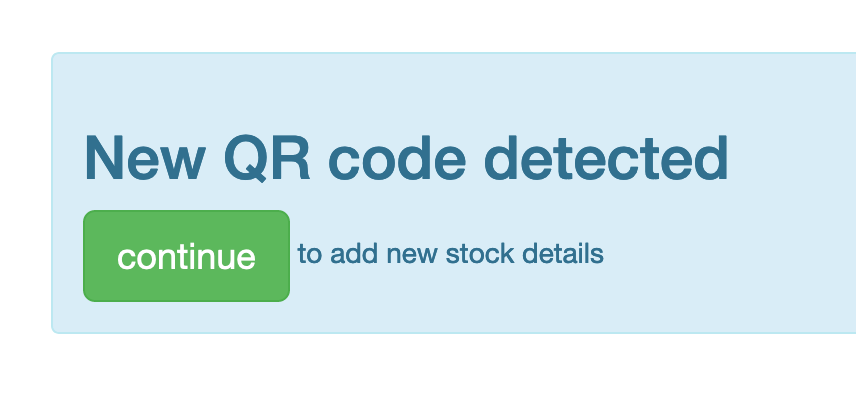
Click continue to and the page will update to allow you to enter the details for this product.
Agent data form
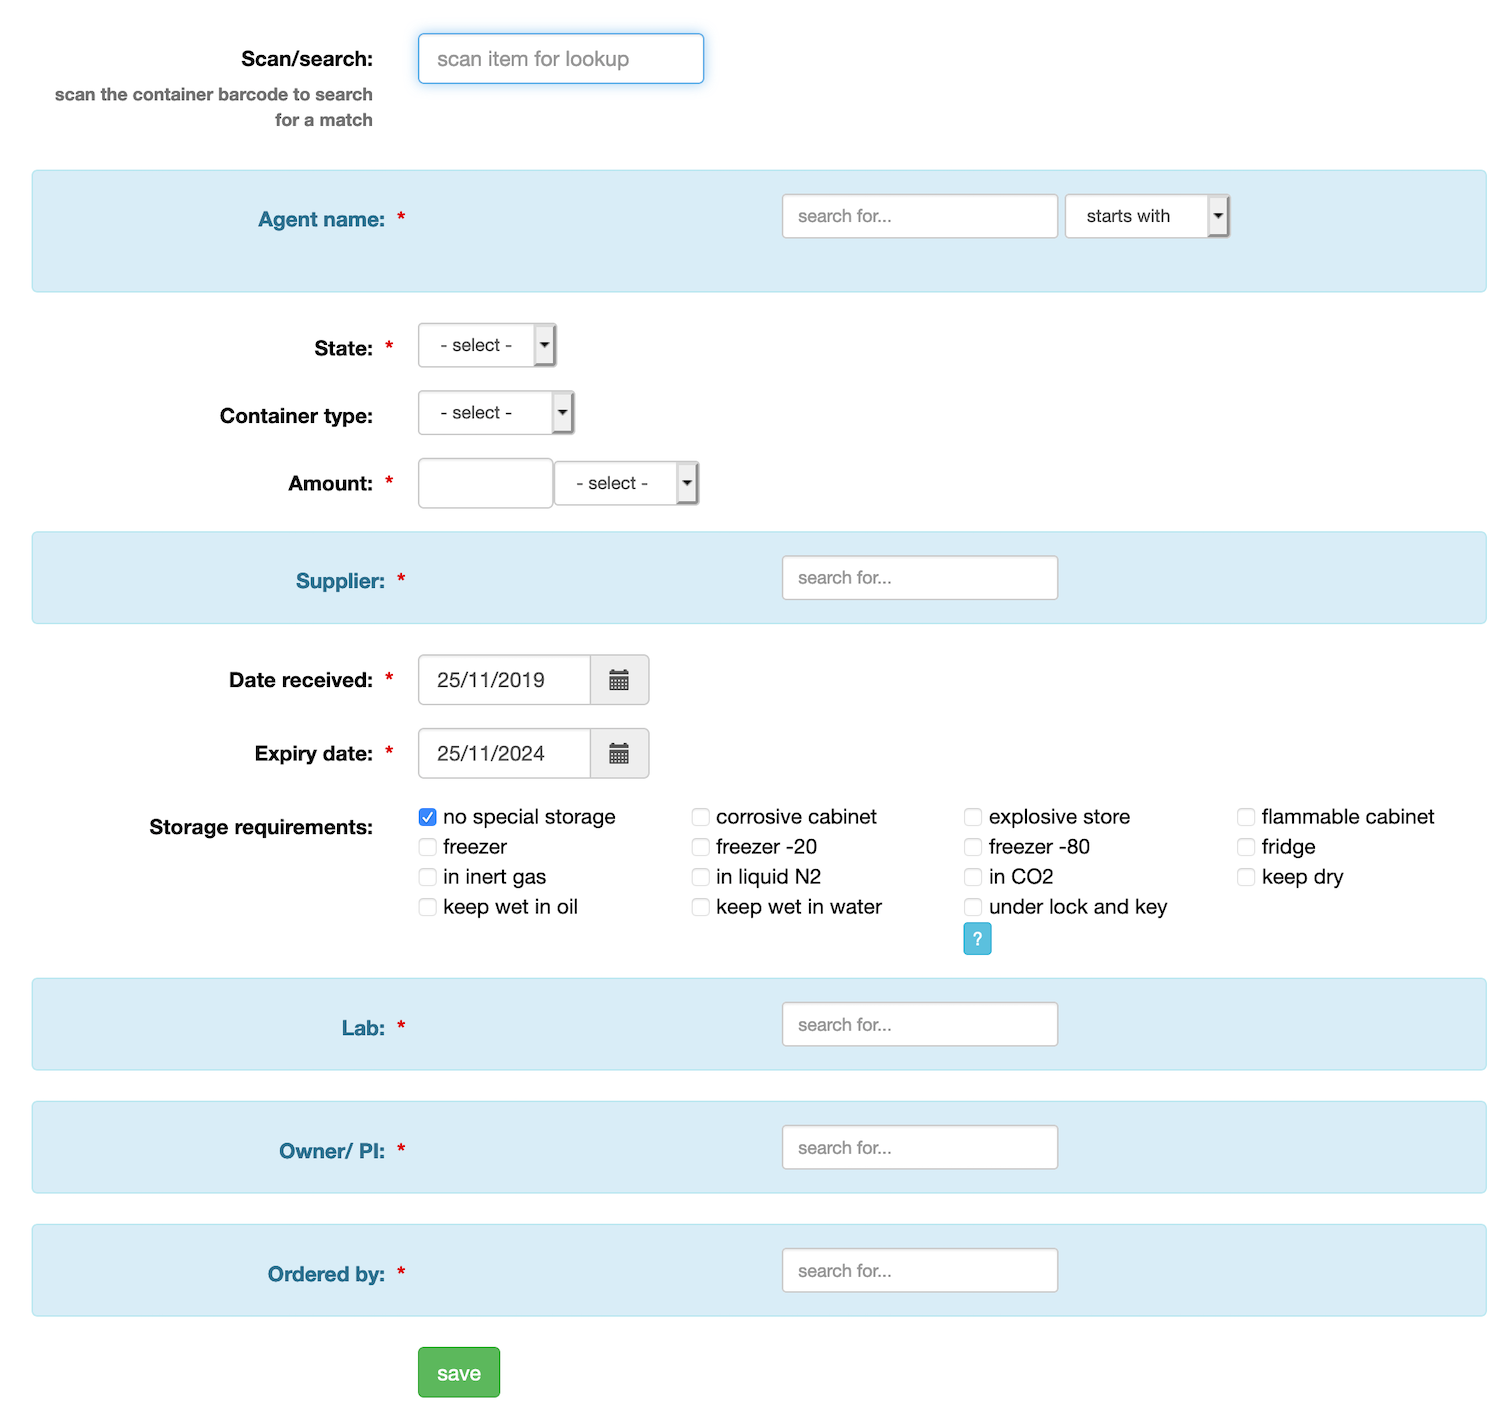
Scan/ search
If using a hand scanner and the item you are adding has a barcode, scan the barcode. The system will compare this to the 'GS1' barcode values in the system:

- if the search finds a matching value, click the pick button, and it will pre-fill the form with data from the match.
- if the scan/search has not matches, then proceed to complete the form manually.
Agent Name
Start to type the chemical/ product name in the Agent box, and it will look up the system chemical database for a match.
If a match is found, click the [+] icon next to the match to select it.

If the match has an * in front of the chemical name, then the match is not in the active chemical records, but will add this to the active records once you complete the form. Again, click the [+] icon to select it.
![agent search - match found [sigma]](files/media/inv_add_agent_match_sig.png)
If there are no matches, then you should enter the full name of the chemical, then click the [add to list] button. The system will still add the agent as a new chemical and you will be emailed to complete a new chemical agent request to be approved by your DSC.

State/ container/ amount
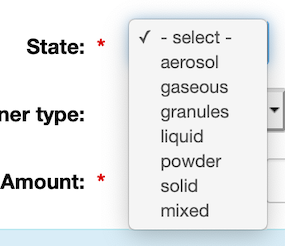
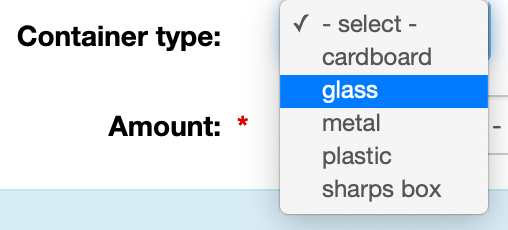
In the next section select the form/state (solid, liquid etc.) and container type (glass, plastic etc.) from the matching drop downs.
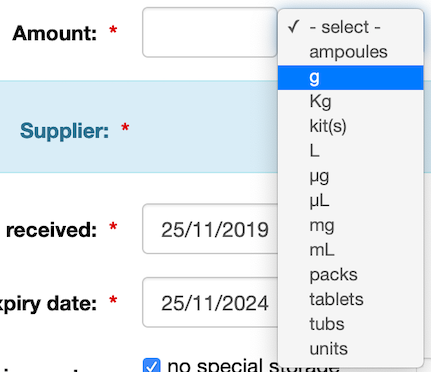
Enter the volume/ weight along with the applicable units in the Amount field e.g 500 g.
Supplier
Start to type the name of the supplier. If it matches and existing supplier, the system will show the match(es), simply click the [+] icon to set the supplier.

If there are no matches, the system will responsd with no matches for... In this case, enter the full name of the supplier, then click the [+ add to list] button.

The supplier will be added to the system and will be available for selection on future additions.
Dates
The date received will default to today's date. The expiry date will be 5 years from today.
You can change these dates if required - simply click on the calendar icon to the right of the date box, and you can use the pop-ups to change the dates.
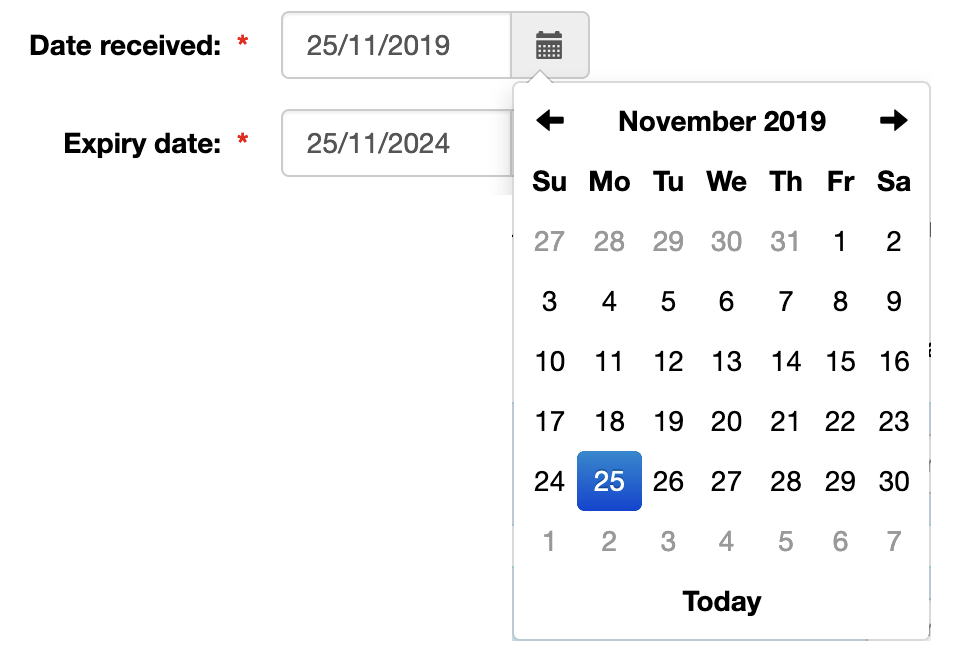
Storage Requirements
If the chemical has specific storage requirements, untick the no special storage option, then tick one or more of the other options.

Lab
select the lab by starting to type in part of the name/ room code. Using the room number is often the simplest way to find the best match. Once you see the correct lab, click the [+] icon to select it.

Owner
select the owner by starting to type their name into the box. Once you see the correct person, click the [+] icon to select them.

Ordered By
select the user who made the order by starting to type their name in the box. As with the owner, simply click the [+] icon alongside their name to select them. For the setup process, this should be set to the person entering the data.
Save
Once you have completed all the information click the save button. The system will update and acknowledge the addition of the chemical. You should affix the QR code label to the container if you have not already done so. You should ensure that you do not obscure any of the manufacturer information.
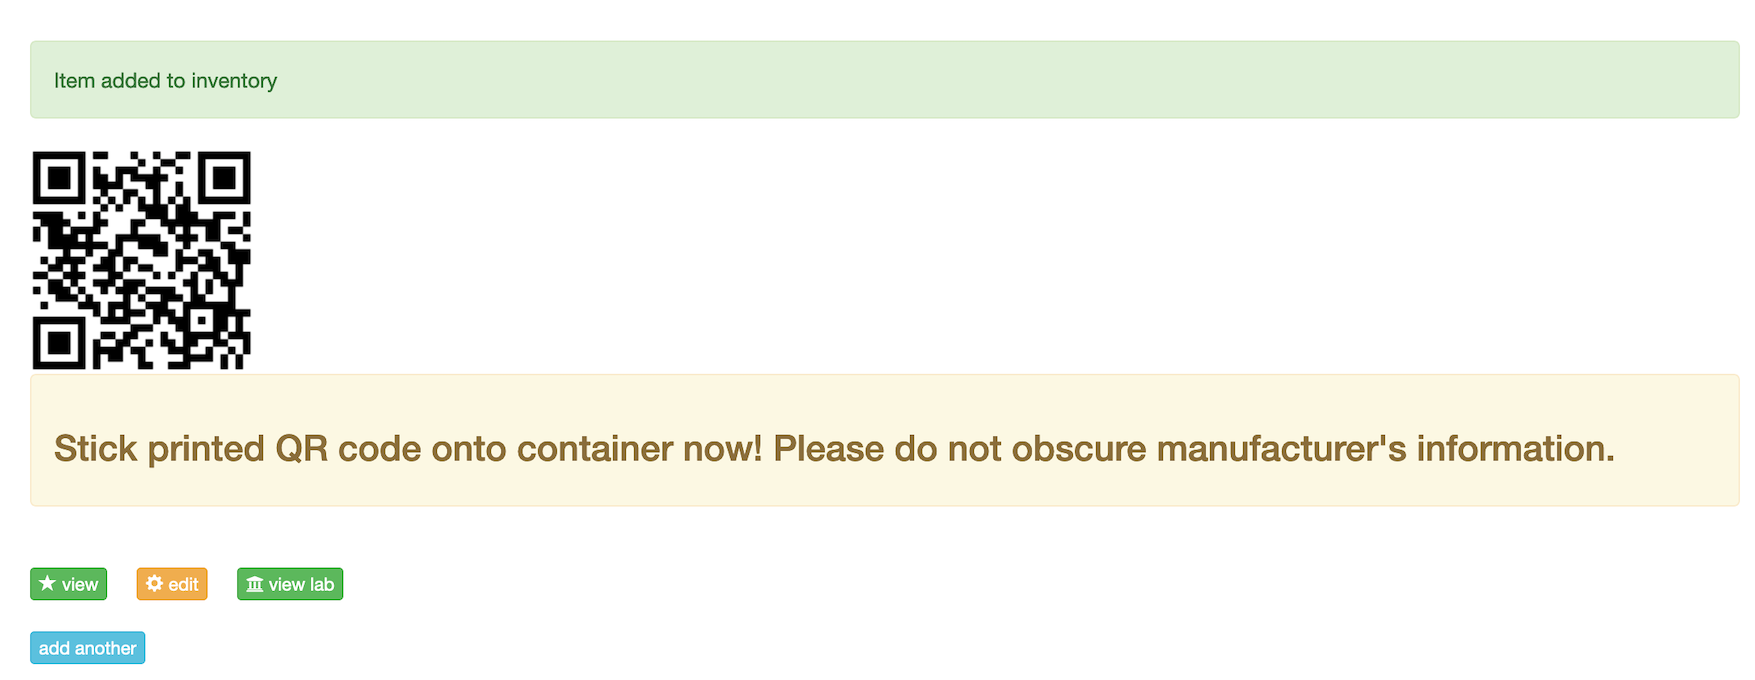
You can view the entry to check the details, select edit to make changes, view lab to view the laboratory inventory or add another to add further items to the system.